

Authenticator User Guide
Overview
The Authenticator feature allows administrators to configure and manage authentication providers for secure payment processing. This includes setting up various authentication providers, managing their status, and configuring provider-specific settings. This feature is primarily intended for operations teams, finance teams, and customer support users with the appropriate permissions to manage authentication configurations.
Accessing the Feature
Log in to the dashboard.
Navigate to the "PG Control Center" section from the main menu.
Click on "Authenticator" to open the feature.
The navigation URL for this feature is https://portal.juspay.in/gateways/authenticator
 .
.
Step-by-Step Usage Instructions
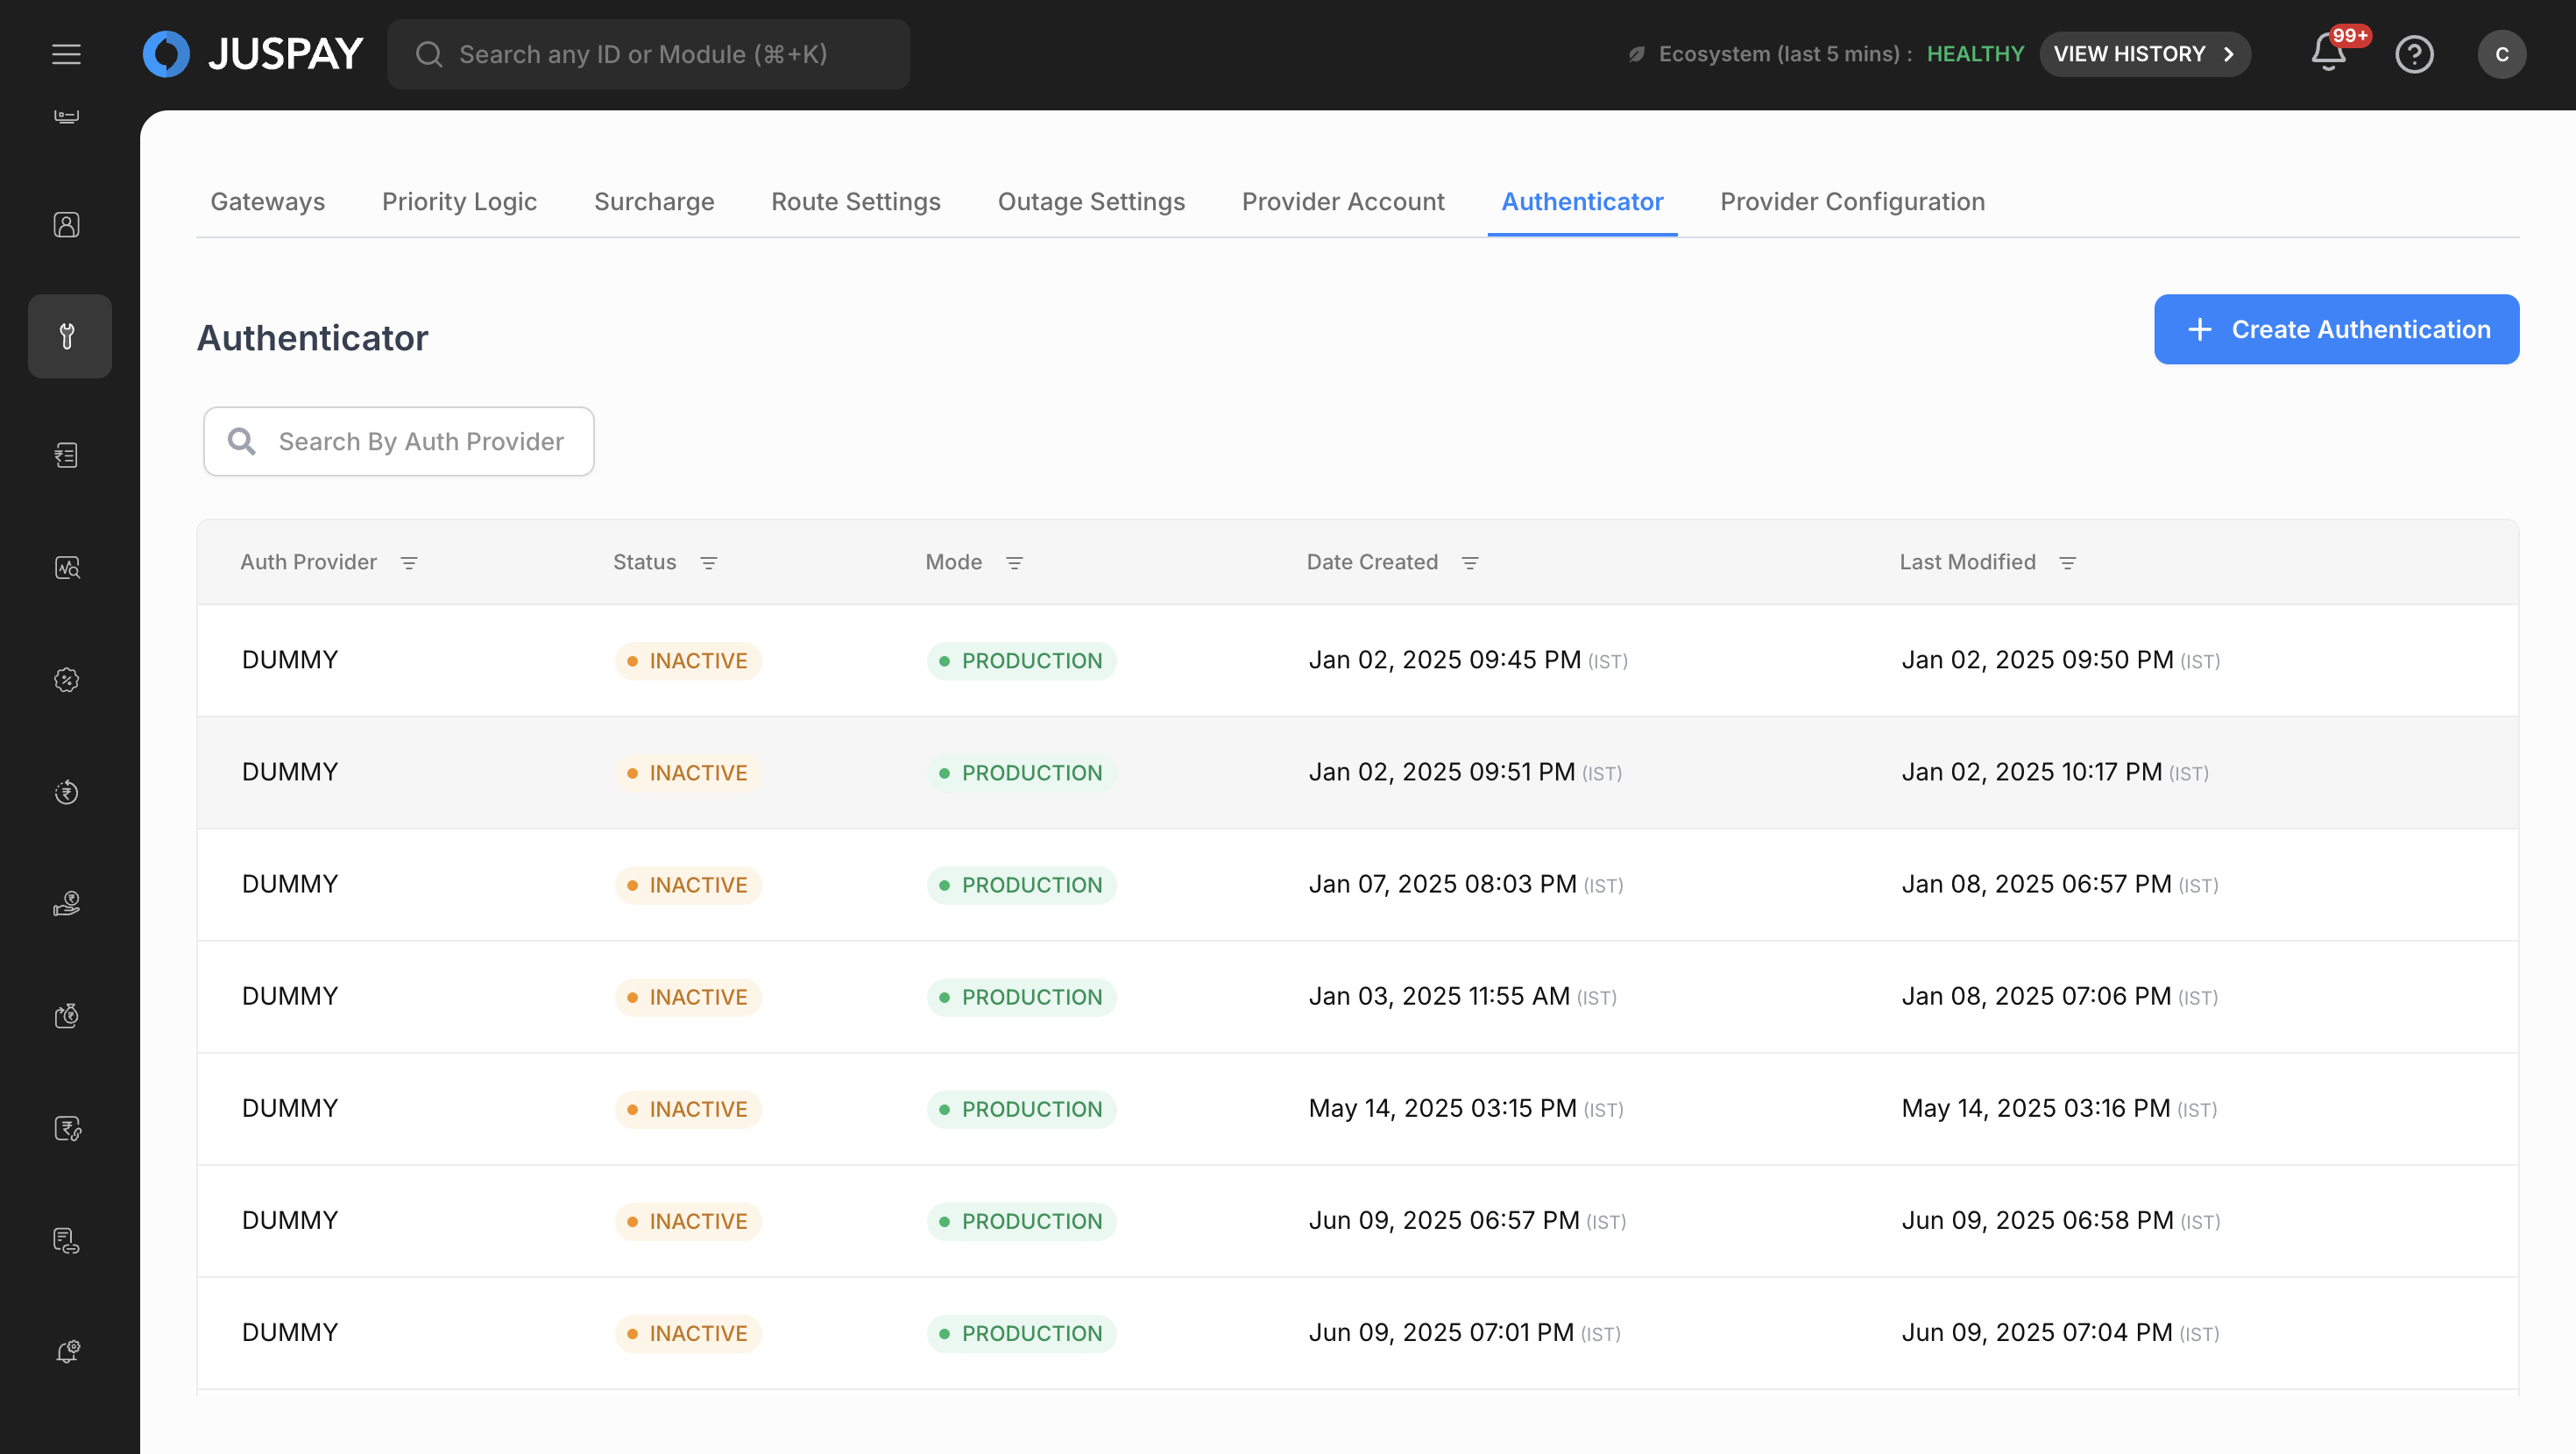
The Authenticator page displays a table of all configured authentication providers. Below is a breakdown of each section and the settings within it.
Authentication List View
The main page displays a table with the following information:
Auth Provider: The name of the authentication provider
Status:
ACTIVE: The authentication provider is currently enabled and operational.
INACTIVE: The authentication provider is disabled.
Mode:
TESTING: The authentication provider is configured for test/sandbox mode.
PRODUCTION: The authentication provider is configured for live production mode.
Date Created: When the authentication provider was first configured.
Last Modified: When the authentication provider was last updated.
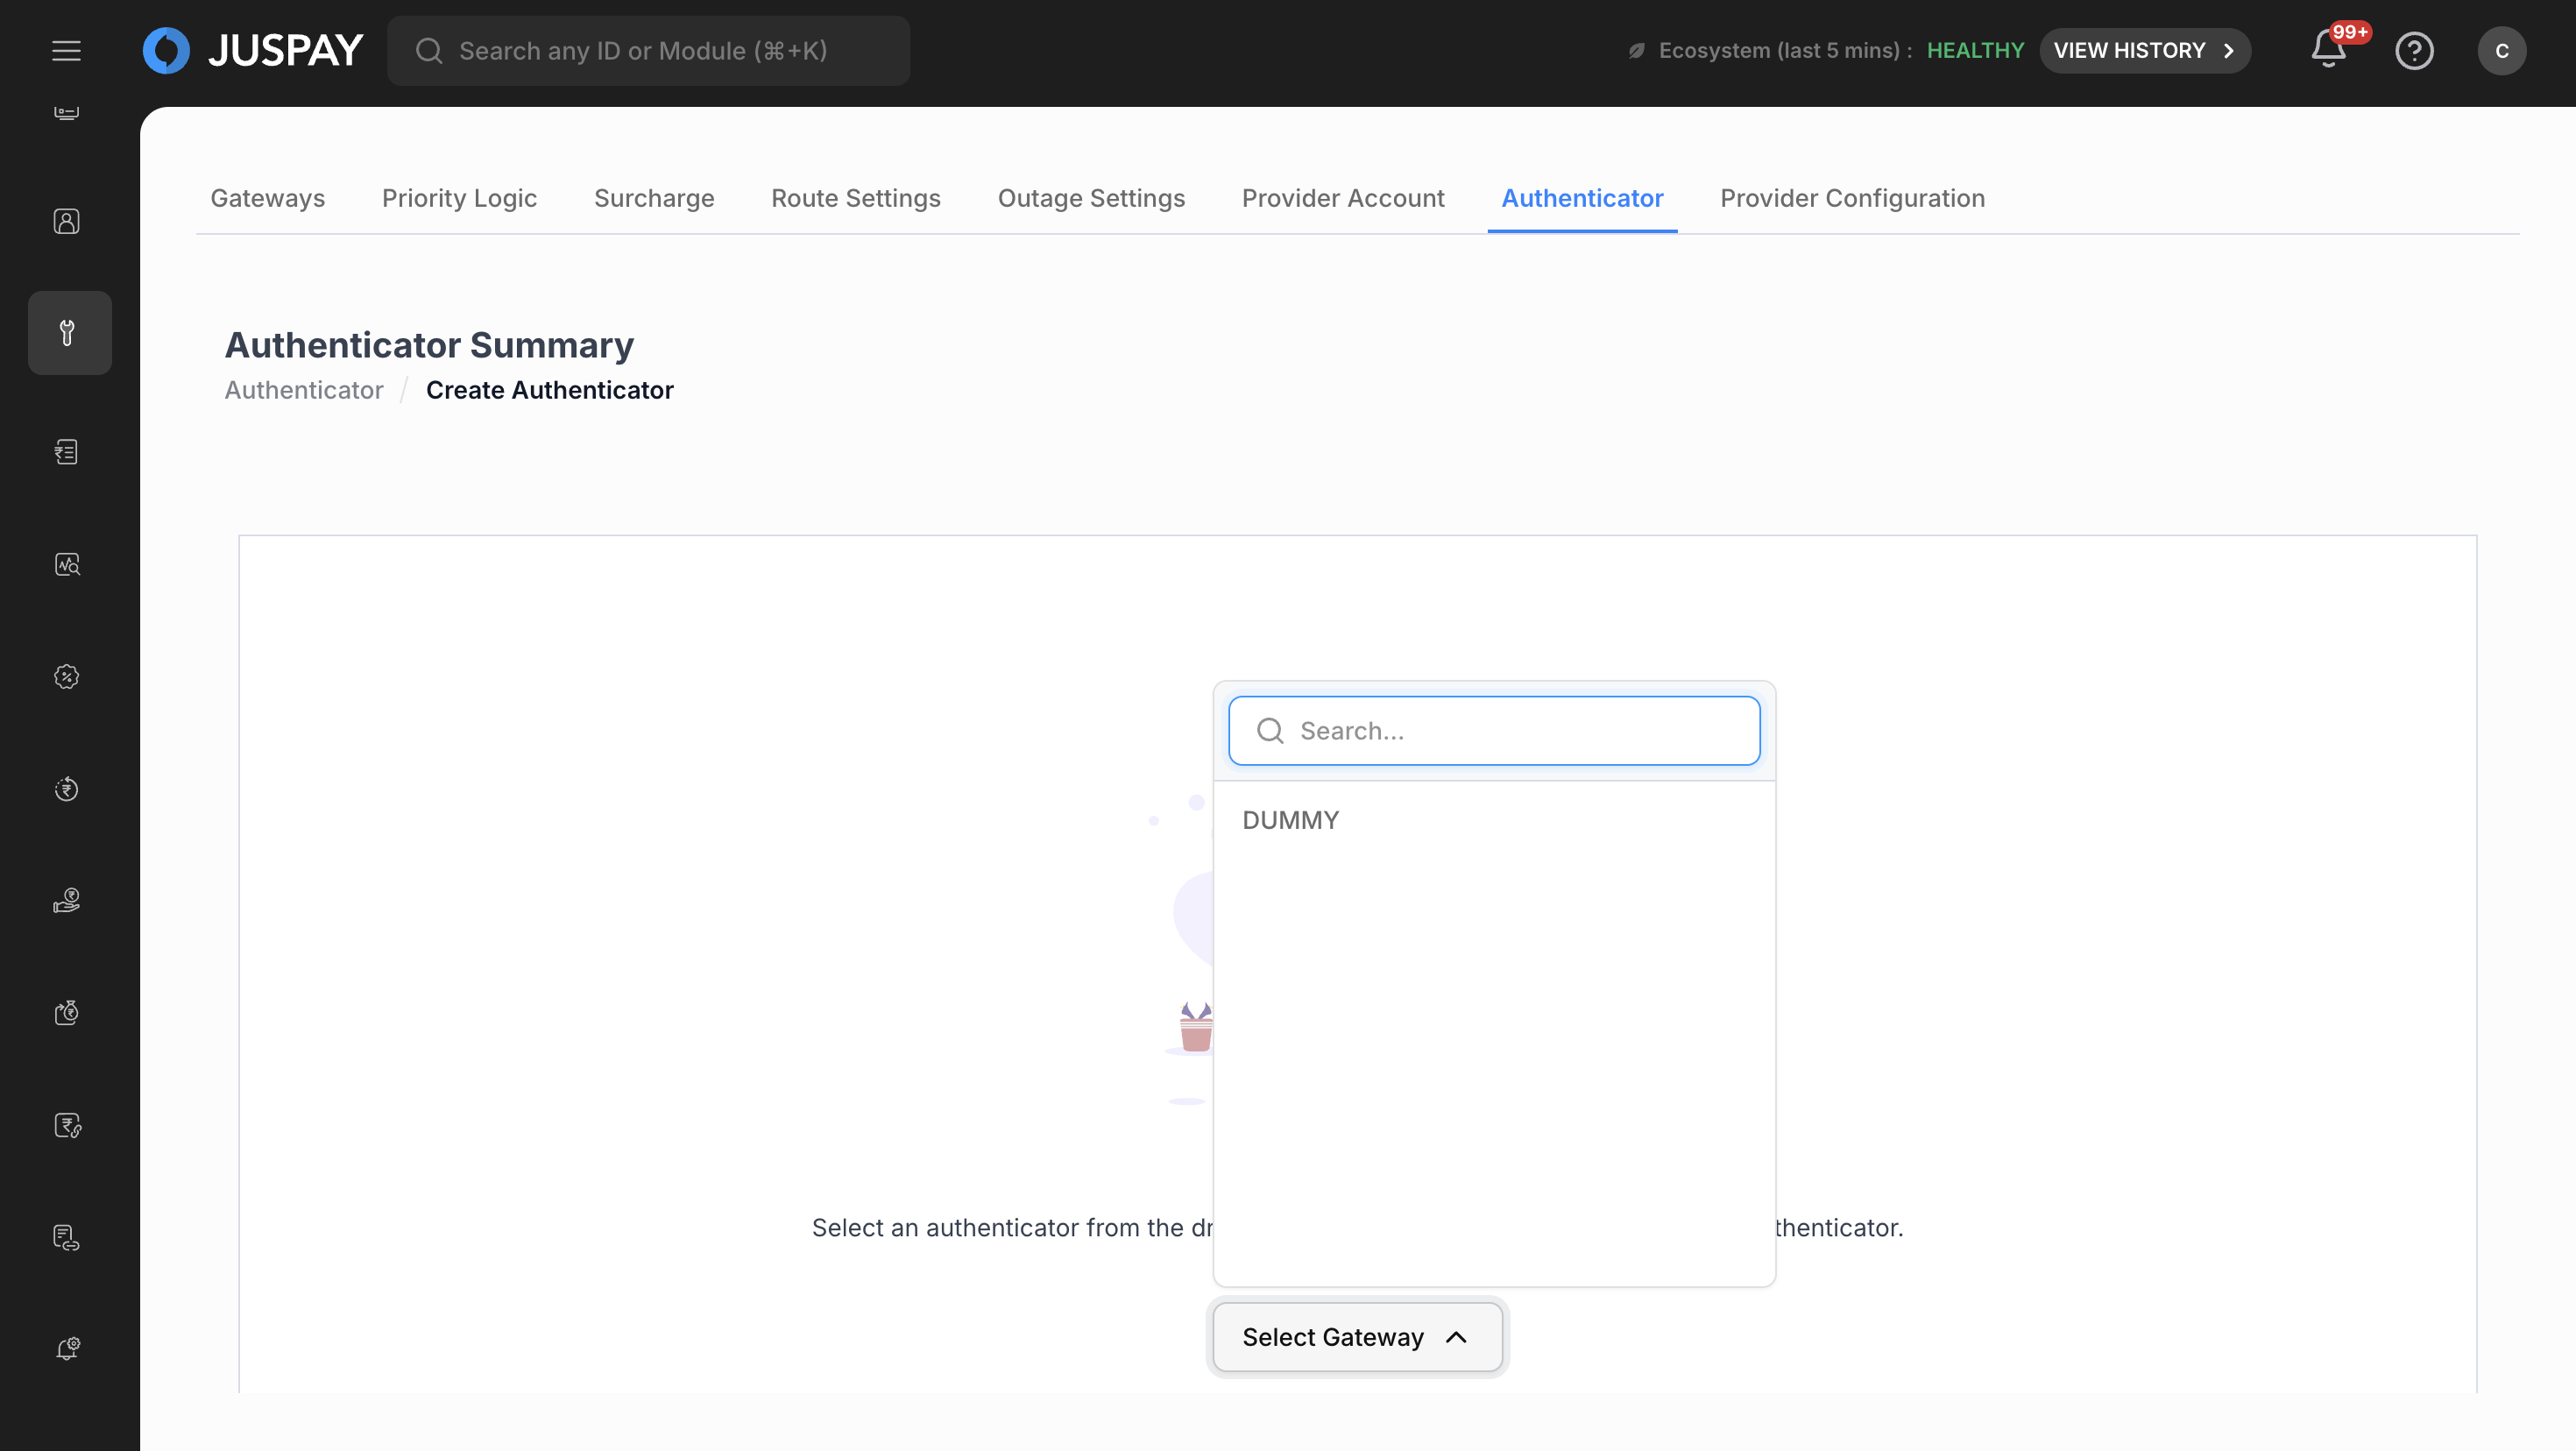
Creating New Authentication
To create a new authentication provider:
Click the "Create Authentication" button.
Select an authentication provider from the dropdown menu.
Complete the configuration form with the required details.
Click "Configure Authentication Account" to save.
Configuration Fields
The form displays different fields based on the selected provider:
Description: A descriptive name for this authentication configuration.
Text Input Fields: Standard configuration values like API keys, merchant IDs, or endpoint URLs.
Password Fields: Secure input for sensitive information like API secrets or private keys. These fields are masked for security.
Boolean/Toggle Fields: Enable or disable specific features within the authentication provider.
File Upload Fields: Upload certificates or configuration files (typically .pem files).
Single Select Dropdowns: Choose from predefined configuration options.
Multi-Select Fields: Select multiple options from available choices.
Radio Button Groups: Single selection from multiple exclusive options.
Numeric Input Fields: Enter numeric values for limits, timeouts, or thresholds.

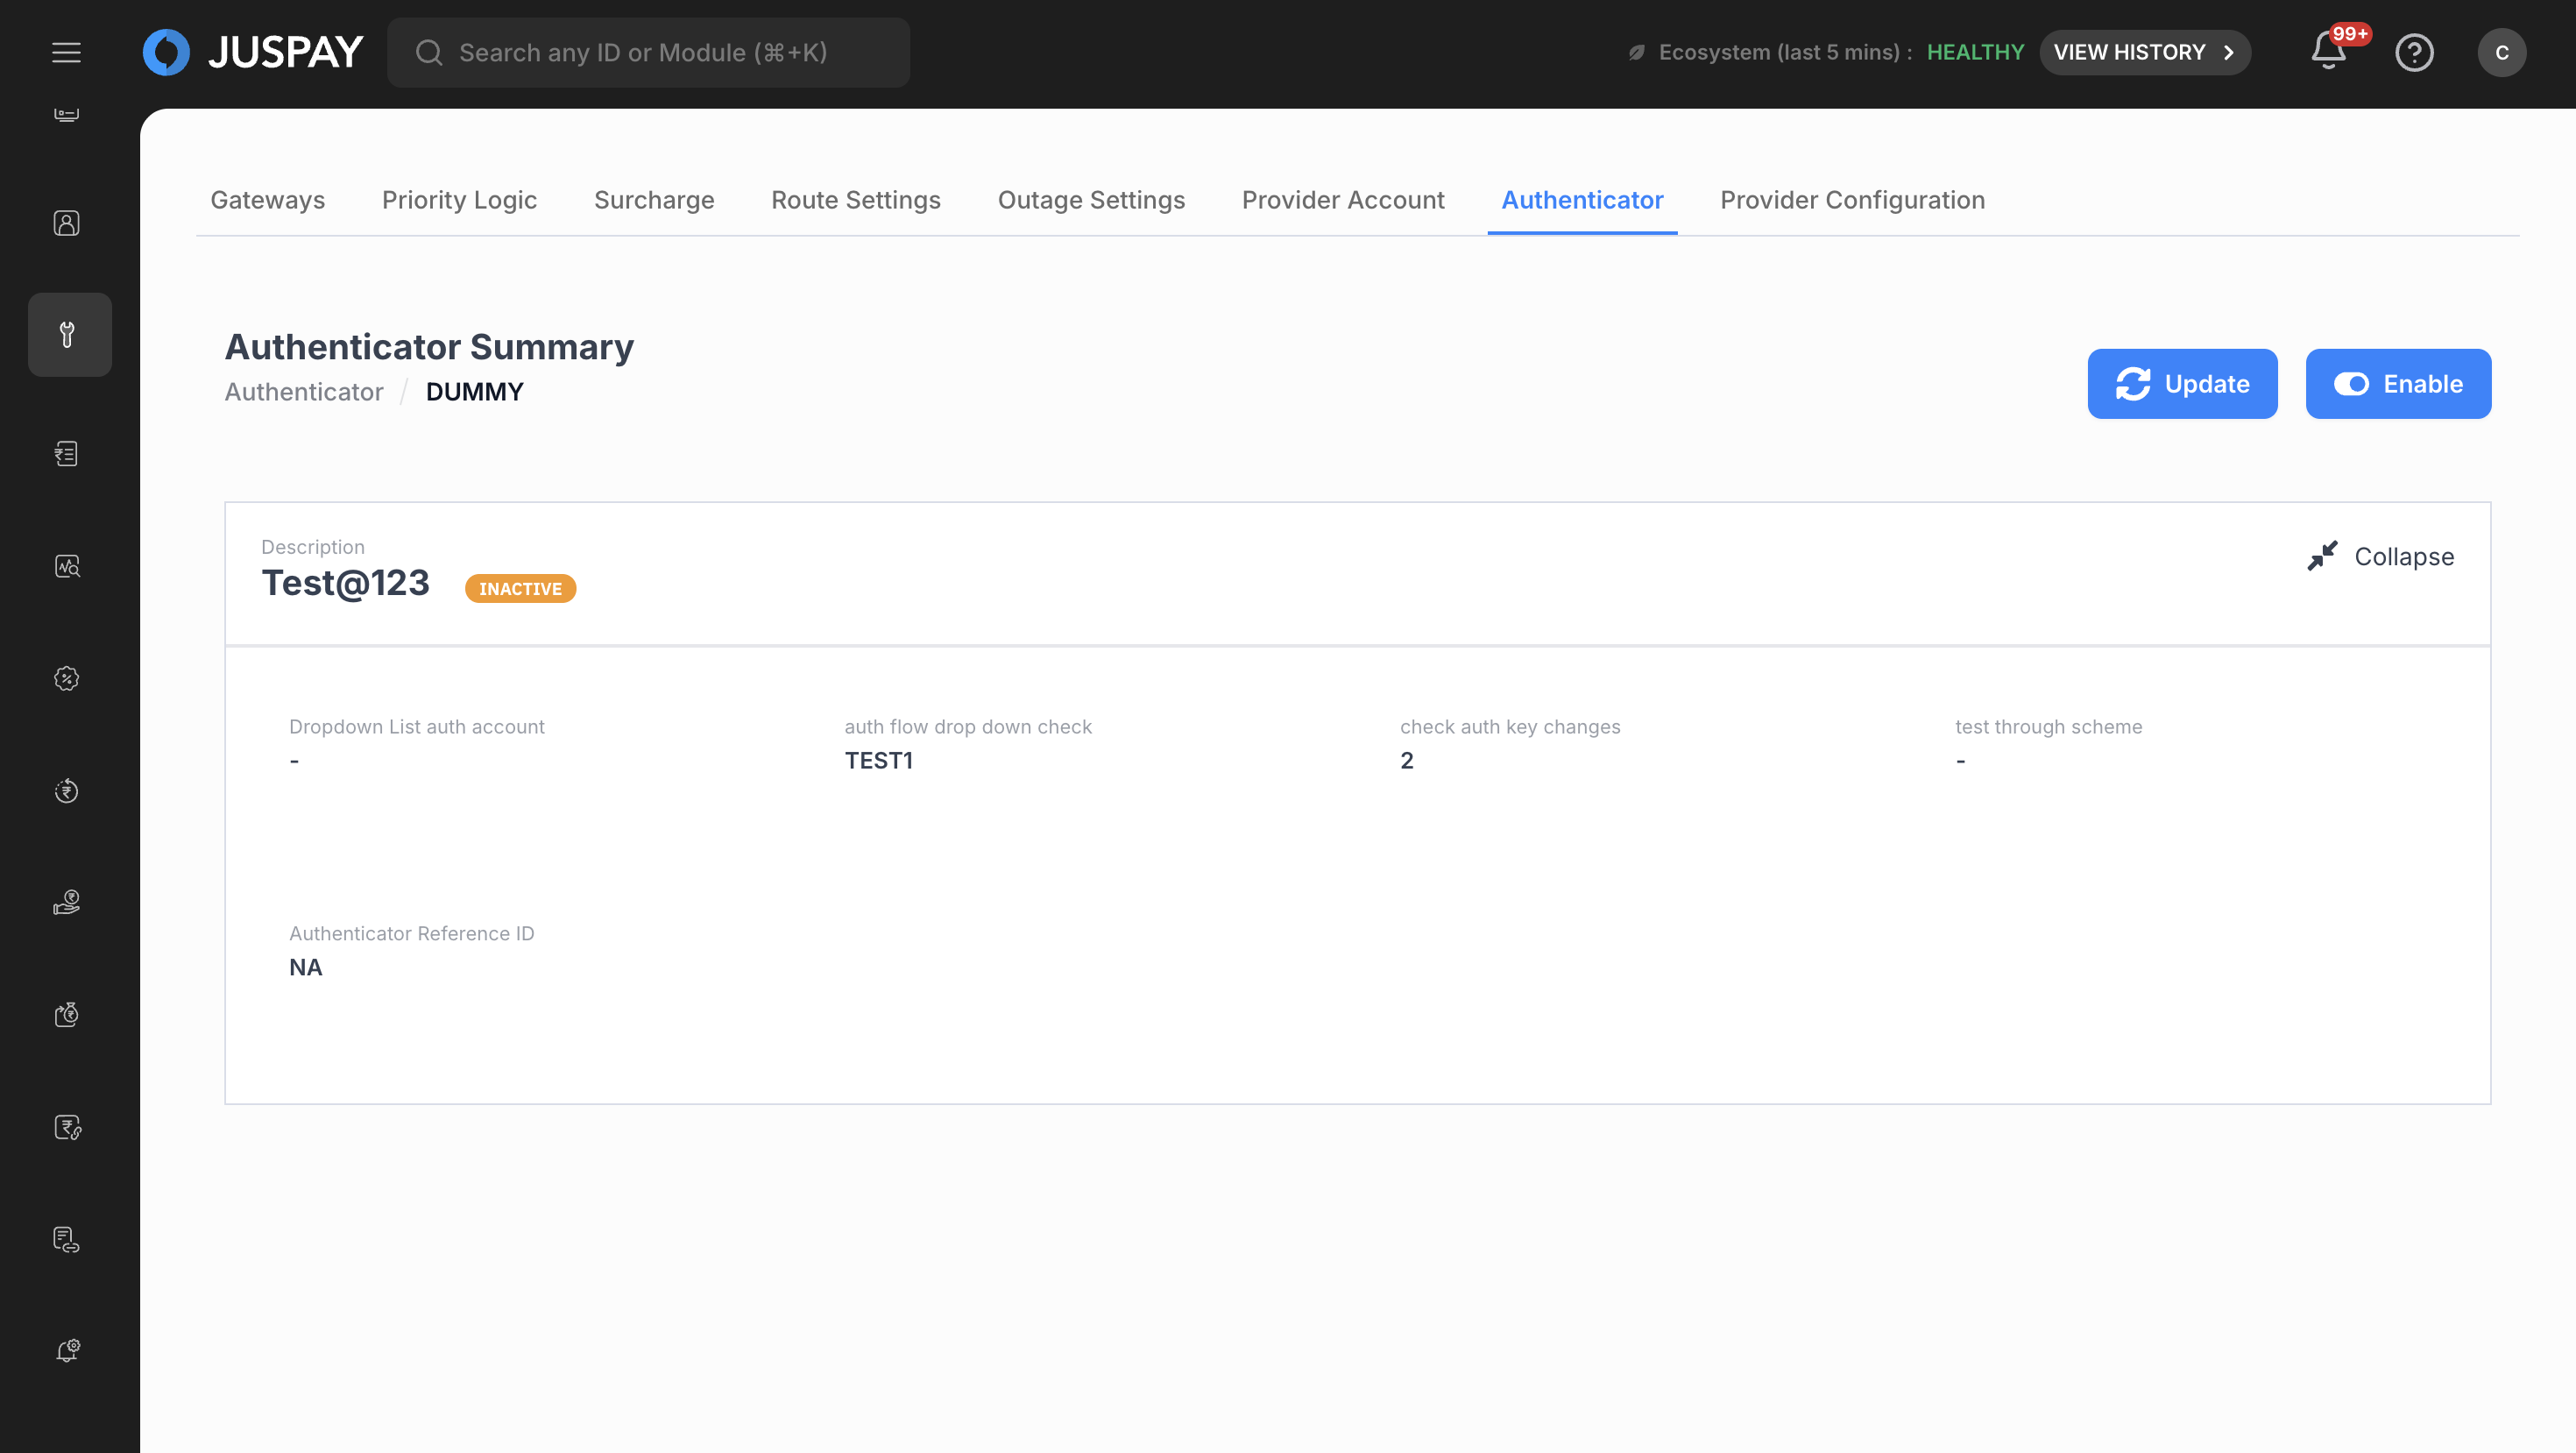
Managing Authentication Details
To view or manage an existing authentication provider:
Click on any authentication provider row from the main list.
View the detailed configuration in the expandable panel.
Use the "Update" button to modify settings (requires appropriate permissions).
Use the "Enable/Disable" toggle to control provider status.
Status Management
Enable/Disable: Click the Enable/Disable button to change provider status. A confirmation dialog will appear to prevent accidental changes.
Conflict Prevention: The system prevents enabling if another instance of the same provider is already active.
Permissions or Roles
To access this feature, the user must have the gateways_authentication_configuration ACL with ReadWrite permission. If the user has only Read permission, they will be able to view the settings but not make any changes.
- Have questions?
- Need help? Contact support
- LLM? Read llms.txt