

PAYTM_V2
Step 1 - Procure Gateway Credentials
Obtain the merchant credentials from the PayTm team for Sandbox (testing) and Production (live).
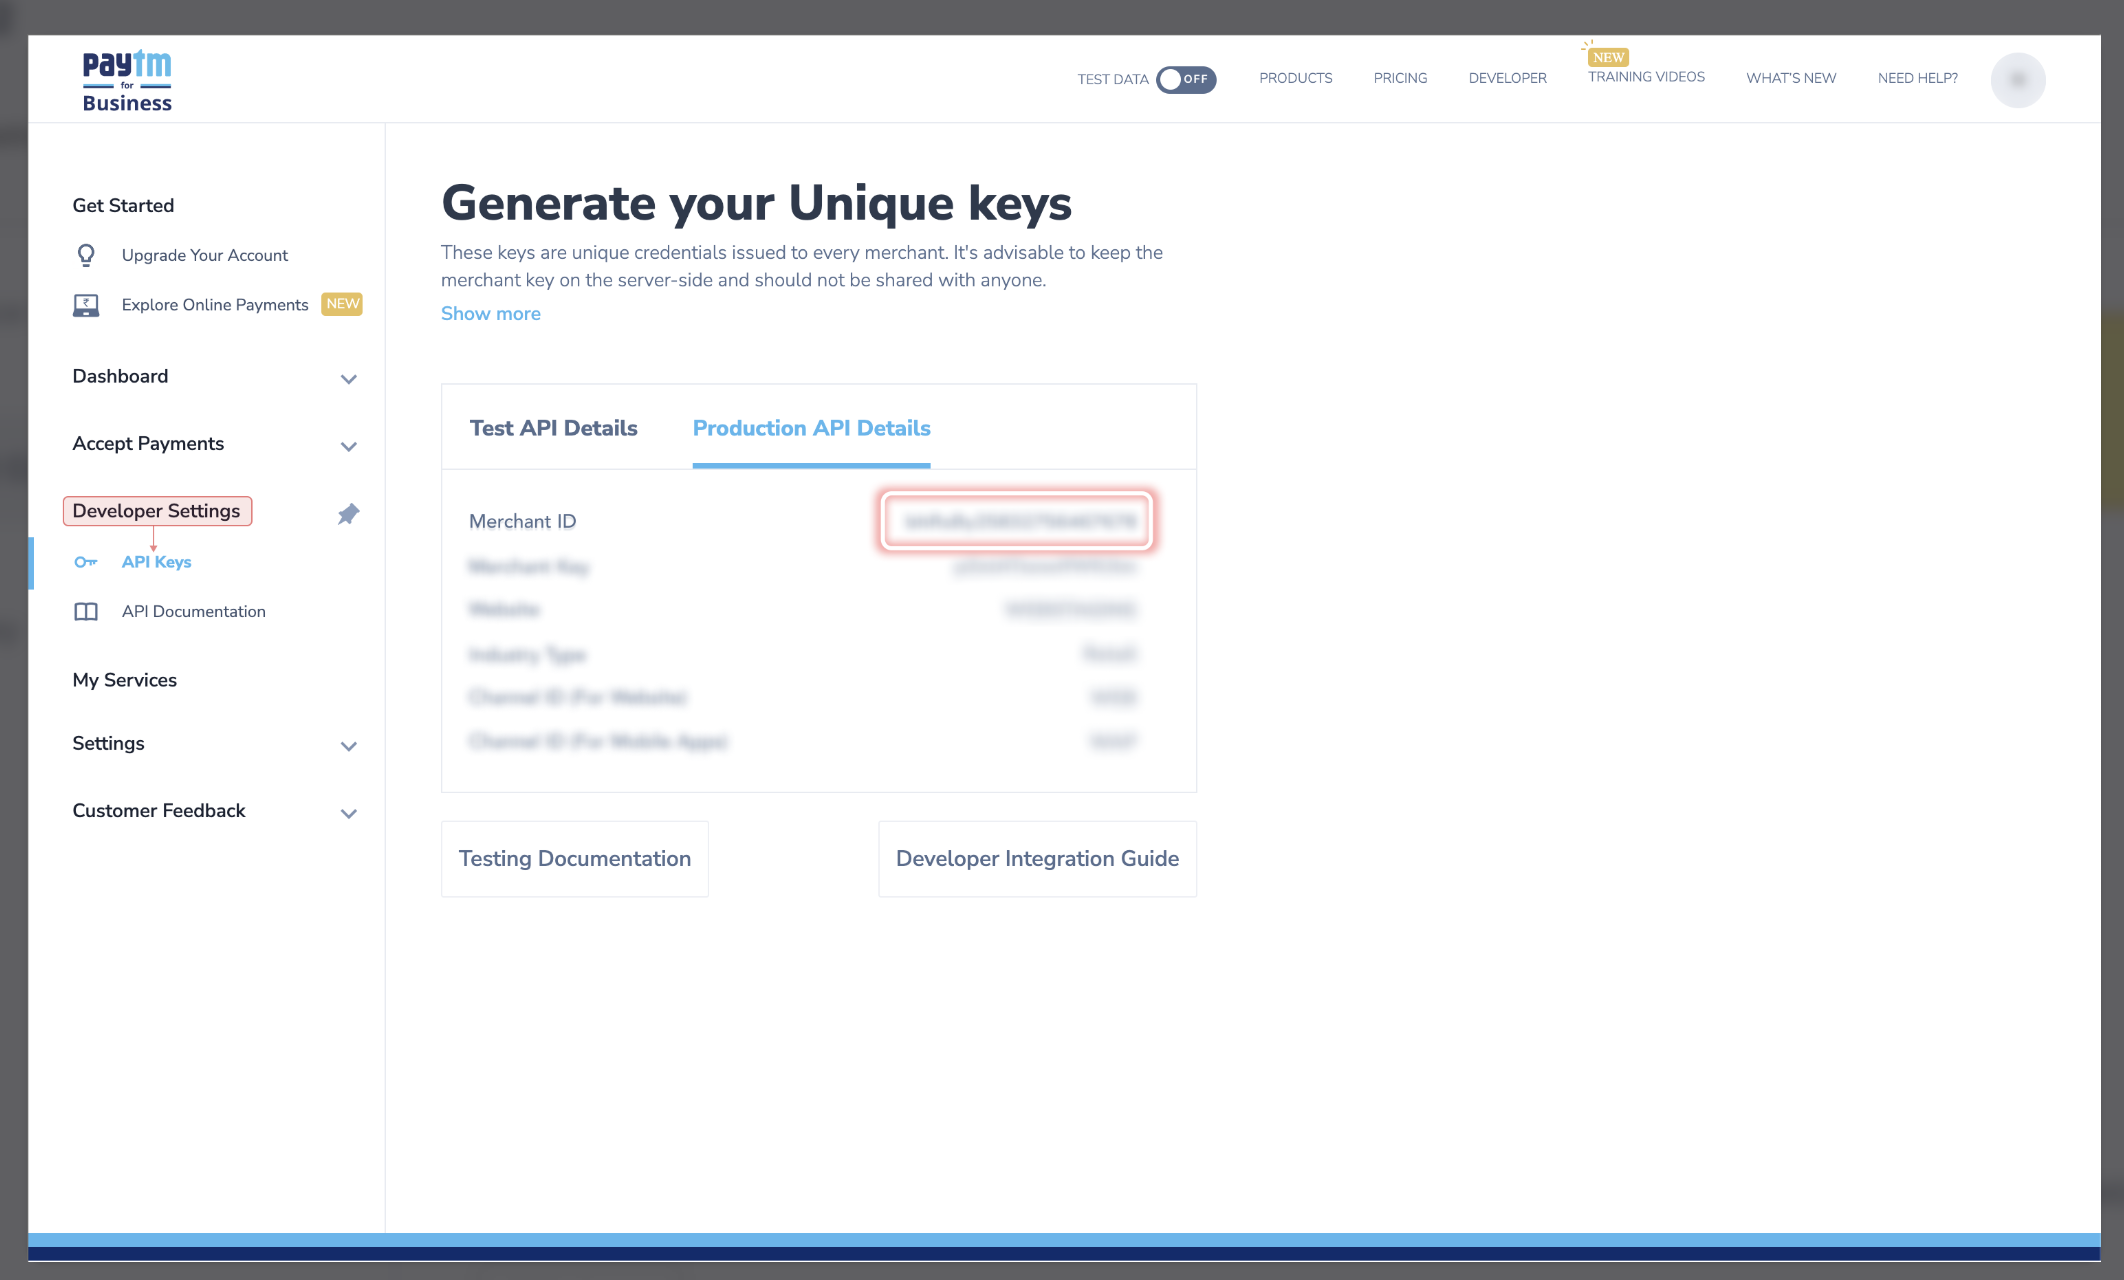
You can find the required credentials on the Paytm Dashboard -
Merchant ID
Merchant Key
Industry type
The fields marked * are mandatory and are required to be configured to proceed with the testing. Rest of the fields are optional and only required for specific features/flows.
Step 2 - Dashboard Configuration
Open up the Juspay Portal
Production: https://portal.juspay.in
 (Configuring here will affect your live environment)
Sandbox: https://sandbox.portal.juspay.in
(Dedicated for testing)
Navigate to Payments → PG Control Centre
Select PAYTM_V2 under the “Add a Payment Gateway (PG)" section
Select an environment for the payment gateway. If not sure then confirm with PAYTM_V2 team whether the credentials provided by them are for testing or production usage
Live Environment: Real money involved, all flows supported
Testing Environment: Simulate payments, only some flows are supported
Gateway Reference ID: For most cases you don’t need this but if you do then refer https://juspay.io/in/docs/hyper-checkout/android/resources/gateway-reference-id
Step 3 - Feature Enablement Email to PG
An email titled “MerchantID <> PAYTM Feature Enablement for MID - {Paytm MID} (Juspay ID: 123456)” will be sent to Paytm from our dashboard to enable the various features and flags.
Step 4 - Configure Payment Methods
Configure the payment methods as per your business needs using the Juspay Dashboard. Enable or disable payment methods your business will accept through PAYTM_V2 on this screen.
Step 5 - Advanced Feature Flags
Following Advanced Feature Flags are available under PAYTM_V2:
Waiting Page Expiry in Seconds: Provide the wait page timer in seconds only if you want the payment gateway's wait page to be shown for UPI collect transactions. The recommended value is 300.
Split Settlement: Enabling this flag would allow you to settle transaction amount into multiple acquiring bank accounts.
Should send surcharge breakup: Enabling this flag would start sending the surcharge breakup to Paytm.
SDK-less Intent: Enable this flag if you want to use the SDK-less Intent flow via Paytm.
S2S Integration: Enabling this flag would enable the S2S (Server to server) integration via Paytm.
Pre-authorization: Enabling this flag would enable the transactions via Paytm to be pre authorized.
Payee Vpa: Paytm generates a unique virtual payment address (VPA) to the Merchant. This parameter is used while app requests for payment using UPI deeplink.
Card Mandate: User registration and auto recurring debit based payments. Payment instrument must be CARD.
Gpay Merchant Id: MerchantId to initiate OMNICHANNEL/PUSH_PAY transaction with googlePay.
Emandate: Enabling this flag allows you to make Mandate payments with payment instruments other than CARD.
CVV-less: Enabling this flag allows you to route CVV less transactions via Paytm.
Customer Fee Bearing Surcharge: Allows merchants to pass on the MDR/FEE to the customer
Native OTP: Enabling this flag allows you to route Native OTP less transactions via Paytm.
Step 6 - Configure Juspay URLs at Gateway
Refer to the Webhook Section to get the list of Juspay URLs that need to be whitelisted at the gateway end.
Step 7 - Testing
Test all payment flows using the sandbox environment. Ensure that all enabled payment methods work as expected and the callbacks are received correctly.
Step 8 - Go live
Switch your configuration to production credentials on Juspay Dashboard after thorough testing, and inform gateway to enable your production credentials if required.
- Have questions?
- Need help? Contact support
- LLM? Read llms.txt